We have some guests coming into town for the weekend and I wanted to get a catch-all for the dresser. When I’m at someone’s house, it’s nice to have someplace to put my jewelry when I got to bed, especially if you’ve been out enjoying some delicious Charleston restaurants.

I found this star dish at TJ Maxx for $1 on the clearance shelf and I thought it would be a perfect catch-all, until I walked by the guest room and saw that my husband filled it up with caramels, thinking it was a candy dish! My Silhouette Cameo (a tool I absolutely love) to the rescue…
- To start with, I measured the dish to decide what size I should make the design.

- Next, I looked online to find some clipart I liked. Sometimes, it’s difficult to find JUST the design I’m looking for in the store, and for times like that, you can have the Silhouette software trace designs for you! I found the image I liked, right clicked it and chose Save Image As…

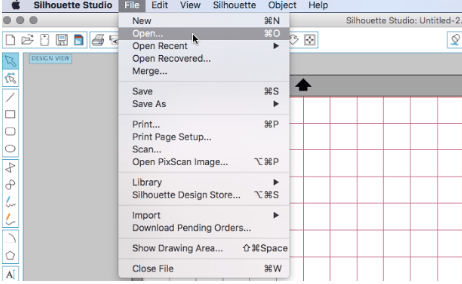
- Once I saved it to my computer, I opened the Silhouette software and clicked File > Open. Then, I navigated to the file I saved and opened it into a new project.
- Once I opened the image, I resized it to match up with the size I wanted (think back to when I measured the dish).

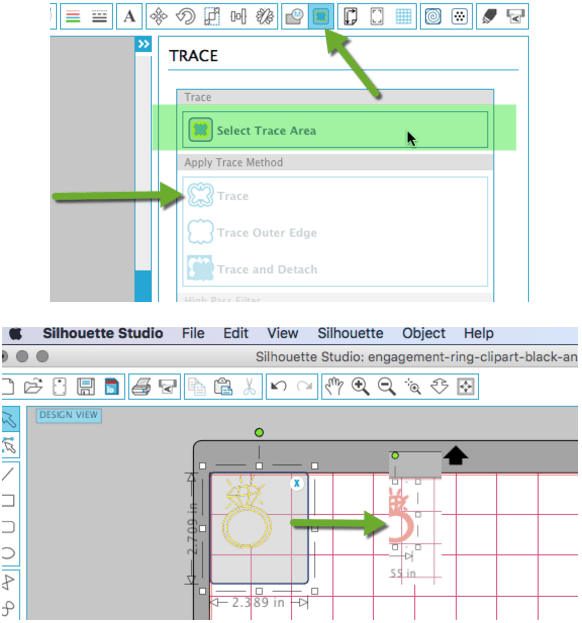
- Next, I want the Silhouette software to trace the image for me so that it will become a cuttable file. Click on the Trace menu button (upper right)- it looks like a blue butterfly image with a yellow frame on it.
- In the Trace Menu, click the Select Trace Area first, and draw a box around what you wish to trace.
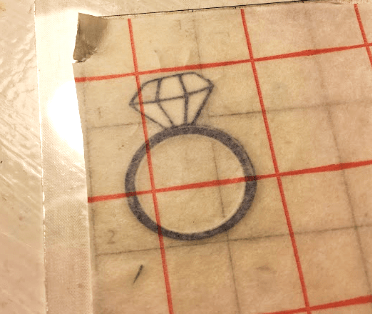
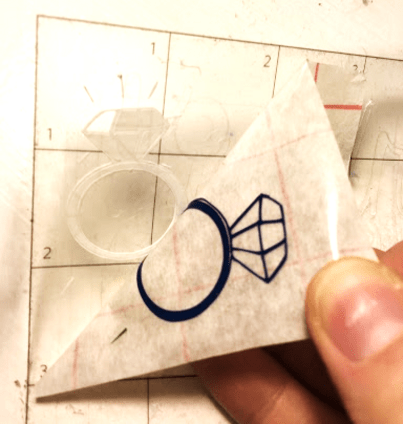
- Once you’ve drawn the box, I chose the Trace option below and it traced my image. After you click trace, the image will be traced in red (see second image).
- Once you’re satisfied with the size of the image, click the Cut Settings menu option (upper right).
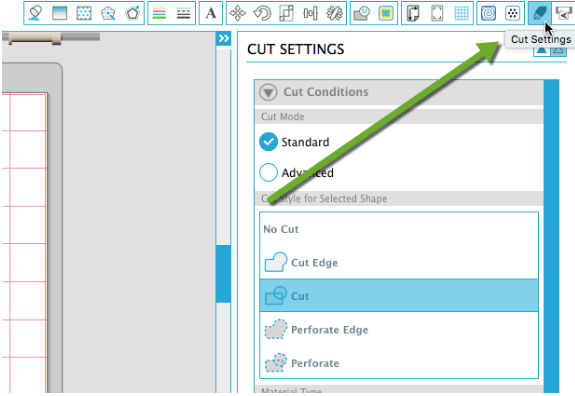
- I typically keep it on Standard and infrequently change it from cut.
- Next, I chose what material I was cutting my design from. In this case, I wanted to use a matte adhesive vinyl, so that I could stick it in the bottom of the dish I bought.
- TIP: Even if you have it on Vinyl already, click it again, because it will open up the Editing: Vinyl menu below, which tells you which level your blade needs to be on and lets you adjust speed & double cut (which can be useful for thicker things or older blades).

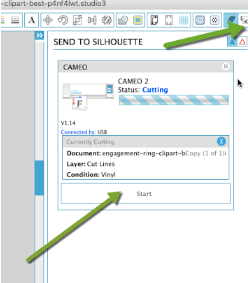
- Finally, I got ready to send (don’t send it yet!) the cut job to my Cameo. I made sure my Cameo was plugged into my computer’s USB port. You can send it from the cut settings menu or from the Send to Silhouette button.
- Before I sent the job to my Cameo, I got the vinyl and the machine ready:
- First, I chose the vinyl I wanted to use (this is a great project for odd-sized scraps that I keep). I put the vinyl on my cut mat (with the colored side up).
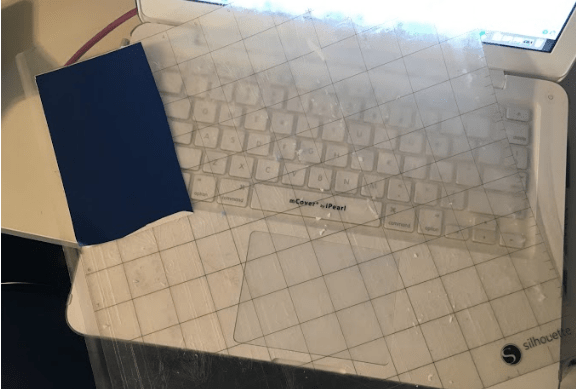
- Next, I looked at the blade settings (step 9) and adjusted my blade to be on that numbered setting with the grey ratchet tool that comes with the blade (I made my Cameo cover with a pocket so I could keep it in there). Then, I put the blade back in the holder and spun the lock to secure it in place.

- Next, I loaded the cut mat with the vinyl situated on the top end of the mat.

- First, I chose the vinyl I wanted to use (this is a great project for odd-sized scraps that I keep). I put the vinyl on my cut mat (with the colored side up).
- After loading the cut mat, I sent the cut job from my computer to the Cameo (step 9).
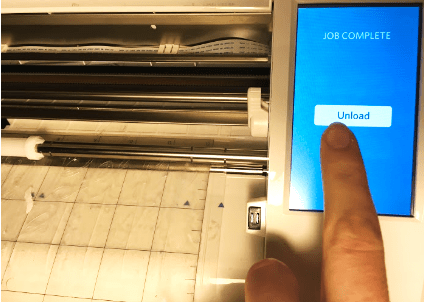
- After the job was finished (you’ll be able to see on the Silhouette’s display & on your computer), I unloaded the cut mat, but touching Unload on the display.
- Often, you can peel away a large piece of unused vinyl (if it’s pretty large, I’ll keep it), but do so carefully- try not to disturb your cut design.
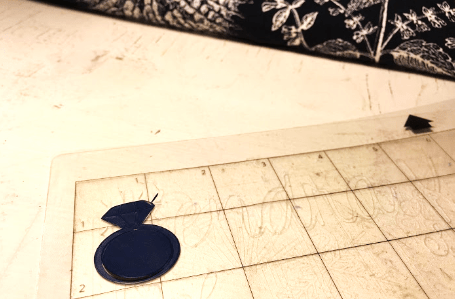
- Next, I weeded the design with the hook tool. It’s very helpful when trying to get small parts of vinyl out without moving other parts,

- After weeding the design, I cut a piece of Silhouette transfer paper large enough to cover the weeded design (TIP: If you run out of transfer paper, you can also use blue painter’s tape). I peeled it off the lining paper and lined it up to stick over the top of my design. Transfer paper is so important in easily and effectively moving your designs from the cut mat to your finished spot.

- I stuck the transfer paper right over the design and rubbed it repeatedly to securely attach it to my design.
- Next, I peeled the design off the cut mat so that it all stuck onto the transfer paper (be careful, the underside is the adhesive part that will stick it onto its final location).
- I then trimmed the transfer paper so that it would easily fit inside my dish.

- After lining the design up, I pressed it firmly into the bottom of the dish so that I would stick, then I carefully peeled up the transfer paper.

- Finally, I put the finished dish in the guest room, ready to get used by our friends coming for the weekend!

*The links above are Amazon affiliate links, which helps keep this blog going, if you’re interested in buying any of the items above, consider using the links.

This is such a fun and easy DIY!
LikeLike
Excited to see another crafter in CBS! I have a Cricut, so we’ll have to compare projects 🙂
LikeLike